Payer Billing Compliance Checklist for Medical Practices
A payer billing compliance checklist: enrollment, eligibility, authorization, coding, signed notes, filing limits and denial follow-up, with CMS sources.
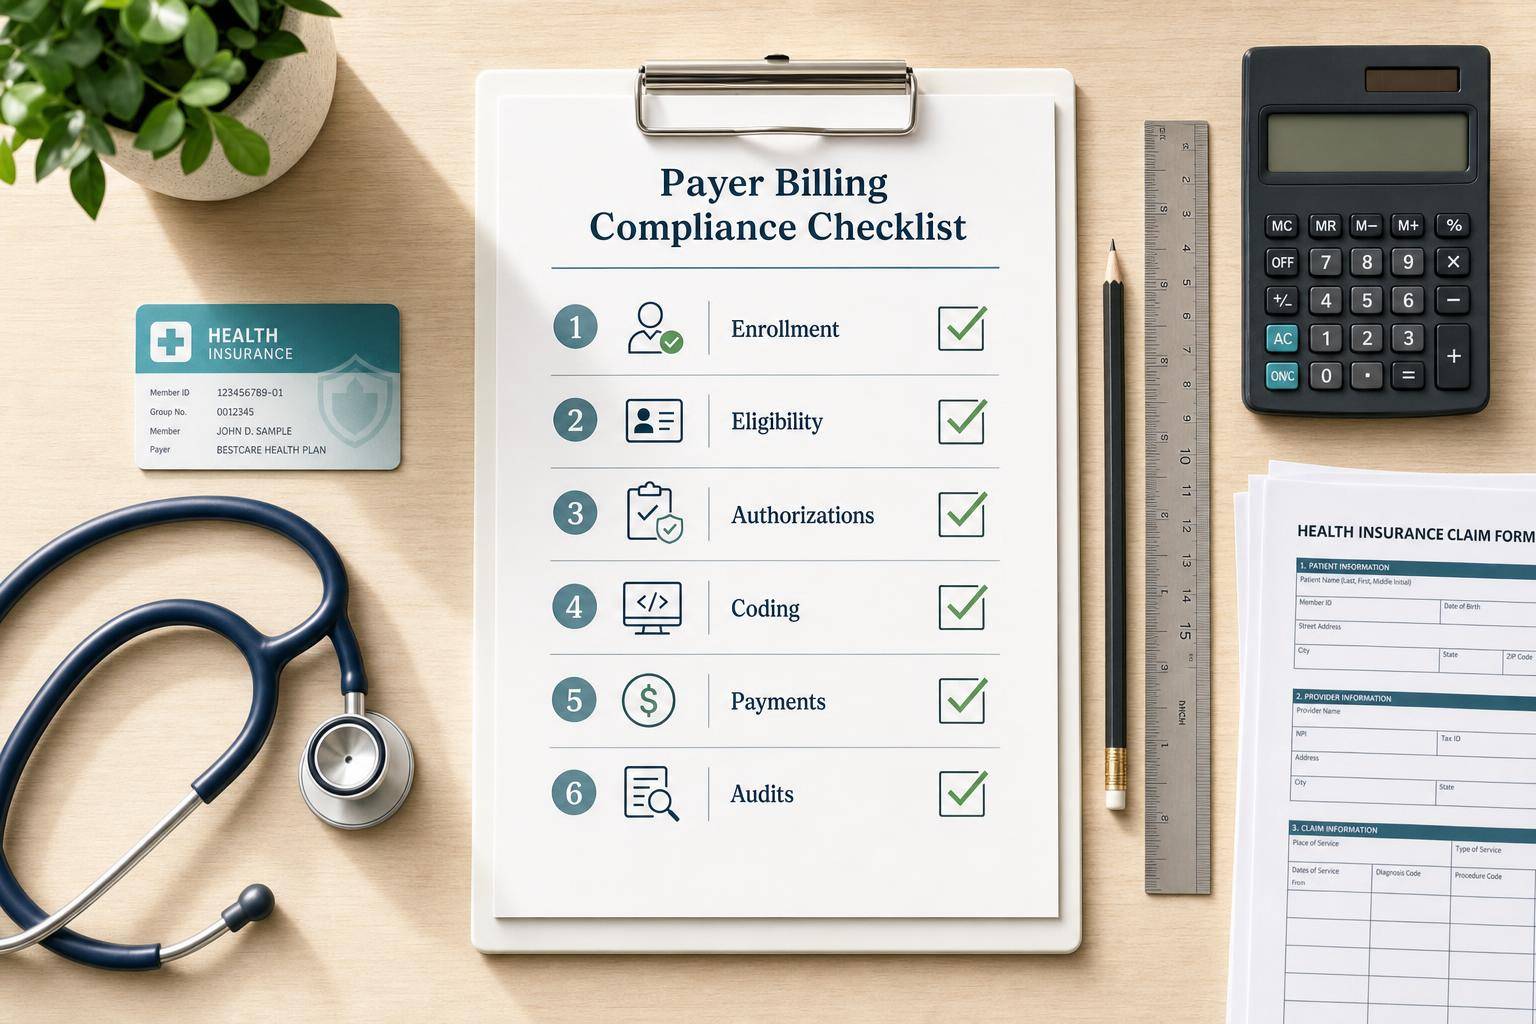

A payer billing compliance checklist confirms, before each claim goes out, that the provider is enrolled with the payer, the patient's coverage and any required authorization are verified, the codes and modifiers match the chart and the payer's policy, the note is signed, and the claim is filed within the payer's time limit. The checks in order:
- Enrollment and identifiers: rendering and billing providers enrolled and active with the payer; NPI, taxonomy and tax ID match the payer's file.
- Eligibility and benefits: coverage active on the date of service, network status, payer order for patients with more than one plan.
- Authorization and referral: obtained where the plan requires it, and matching the service, provider and dates actually delivered.
- Coding: current CPT, HCPCS and ICD-10-CM codes; modifiers such as 25 and 59 used only when the record supports them; place of service matching where care happened.
- Documentation: medical necessity stated, the service level supported, and the note signed and dated by the author.
- Filing and follow-up: claim sent within the payer's filing limit; remittances compared with the contract; denials sorted by reason.
- Audit and training: scheduled chart reviews, a log of payer rule changes and a record of who was trained on what.
Sources checked October 14, 2026 · Prepared by Prospyr. This update removes unsourced denial-rate, cost and audit-threshold figures from an earlier version. No certified-coder or compliance-officer review is claimed. CPT is a registered trademark of the American Medical Association; use the current licensed code set.
1. Verify payer enrollment and identifiers
Before the first claim to a payer, confirm the payer can identify the practice and each provider.
| Item | What to confirm |
|---|---|
| Payer enrollment | Active participation, effective date already started, provider listed on the payer roster |
| NPI | Individual (Type 1) NPI for the rendering provider and organization (Type 2) NPI for the group where it applies, both matching the NPI Registry and the payer file |
| Taxonomy | Current and consistent with the services billed |
| Tax ID | Matches the billing entity on the payer's records |
| Licensure and DEA | Active where required |
| Recredentialing | Next due date tracked so participation does not lapse |
Check the contract for excluded services and any visit or frequency limits before claims go out. Name one person, often a billing manager, to watch payer bulletins and update your internal notes.
2. Check eligibility, benefits and authorization
Run these checks when the visit is booked and again before the date of service.
- Verify the insurance card, legal name and date of birth. If the patient is not the subscriber, record the subscriber and the relationship.
- Confirm coverage is active on the date of service, the plan type and network status, and any visit limits or exclusions.
- For patients with more than one plan, record which payer is primary before the claim is sent.
- Check whether the plan requires prior authorization or a referral for the planned service. Record the authorization number, dates, approved codes and rendering provider. An authorization is not a guarantee of payment; eligibility, benefits and documentation still apply.
Cosmetic services are generally not covered. Decide before treatment whether a service is self-pay, and give self-pay patients a good faith estimate when the No Surprises Act requires one.
3. Match coding and documentation to payer rules
- Use current code sets. CPT and HCPCS codes change every year. ICD-10-CM releases take effect October 1, and some years also April 1. Use the most specific diagnosis code the record supports.
- Modifiers. Modifier 25 (a significant, separately identifiable E/M service on the same day as a procedure) and modifier 59 (a distinct procedural service) should only be used when the note supports them. Medicare applies NCCI edits: procedure-to-procedure edits stop incorrect code pairs, and medically unlikely edits stop incorrect units. Commercial payers set their own bundling rules, so check each payer's policy.
- Place of service. Match the place-of-service code to where care happened. For telehealth, POS 10 is used when the patient is at home and POS 02 when the patient is somewhere else.
- E/M level. For office and outpatient E/M visits (99202 to 99215), the level is selected by medical decision making or by total time on the date of the encounter. Document whichever one you used.
- Signatures. Each entry needs the author's handwritten or electronic signature. Medicare generally does not accept stamped signatures; its narrow exception is a provider with a physical disability who provides proof of being unable to sign. Late entries should be dated addenda, not backdated notes.
| Documentation element | What to confirm |
|---|---|
| Reason for visit | Recorded for every encounter |
| Medical necessity | Diagnosis linked to the service, with clinical support |
| Service level | Medical decision making or time supports the E/M level billed |
| Signature | Author's handwritten or electronic signature, dated |
| Date of service | Matches the claim |
4. File on time and follow up on payment
- Filing limits. Original Medicare requires claims to be filed no later than one calendar year after the date of service, and a claim denied for timely filing has no appeal rights. Commercial and Medicare Advantage limits are set by each payer and contract. Check your contract; limits vary by plan and contract.
- Rejected is not filed. For Medicare, a claim rejected as unprocessable does not count toward timely filing; it must be corrected and resubmitted within the one-year limit. Treat rejections from any payer the same way until you confirm otherwise.
- Post and compare. Compare each remittance with the contract rate. Review the claim adjustment reason codes on any line paid differently than billed, check patient responsibility, and watch for recoupments.
- Sort denials by reason. Separate correctable errors (demographics, eligibility, coding) from denials that need a formal appeal, and track each payer's appeal deadline.
- Separate duties where you can. Different people entering charges and posting payments makes errors and misuse easier to catch.
| Denial category | Common issues |
|---|---|
| Eligibility and benefits | Inactive coverage, wrong subscriber, wrong payer order |
| Authorization | Missing, expired or not matching the service delivered |
| Coding and modifiers | Unsupported modifier, bundled codes billed separately, wrong units |
| Documentation | Medical necessity not stated, unsigned note |
| Timely filing | Sent after the payer's limit |
5. Audit, train and log payer changes on a schedule
- Audit. Pick a regular sample of charts and claims per provider, weighted toward your highest-volume codes and the categories behind recent denials. Give each finding an owner and a due date, then recheck.
- Log payer changes. Keep payer bulletins, provider manuals and contract amendments in one place. For each change, record the date, what workflow it affects, what was updated and who was told.
- Train and record it. Train new team members at hire, run refreshers at least yearly, and add targeted training after an audit finding. Log the date, topic and attendees.
- Use the government's framework. The HHS Office of Inspector General's General Compliance Program Guidance describes the seven elements of a compliance program and is a voluntary reference for practices of any size.
Where Prospyr fits
Prospyr supports charting, digital intake, inventory and practice operations. Prospyr does not submit insurance claims, check codes or verify benefits; practices that bill insurance heavily need a separate claims solution.
Sources
- 42 CFR 424.44: Medicare time limits for filing claims
- Noridian (CMS contractor): timely filing
- CMS: NCCI edits
- CMS MLN905364: Complying with Medicare signature requirements
- Noridian: office and outpatient E/M visits, MDM or total time
- CMS: Place of service code set
- CDC NCHS: ICD-10-CM release files and effective dates
- CMS NPI Registry
- X12: Claim adjustment reason codes
- HHS OIG: General Compliance Program Guidance
Free PDF guide + worksheets
Claims readiness workbook
Get the public answers and fillable review worksheets in one PDF. Save your own copy or print it for a team review. Use internal references only; keep patient information in your authorized clinical system.
- ✓ Sourced answers and practical examples
- ✓ Worksheets for your team to complete
- ✓ Official references and review prompts